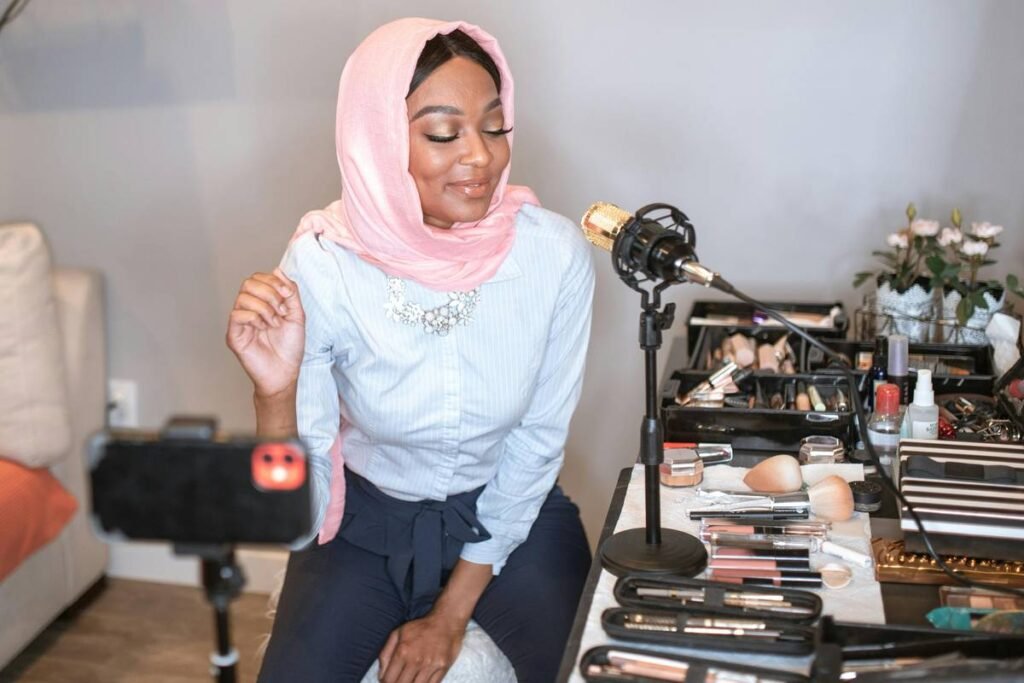
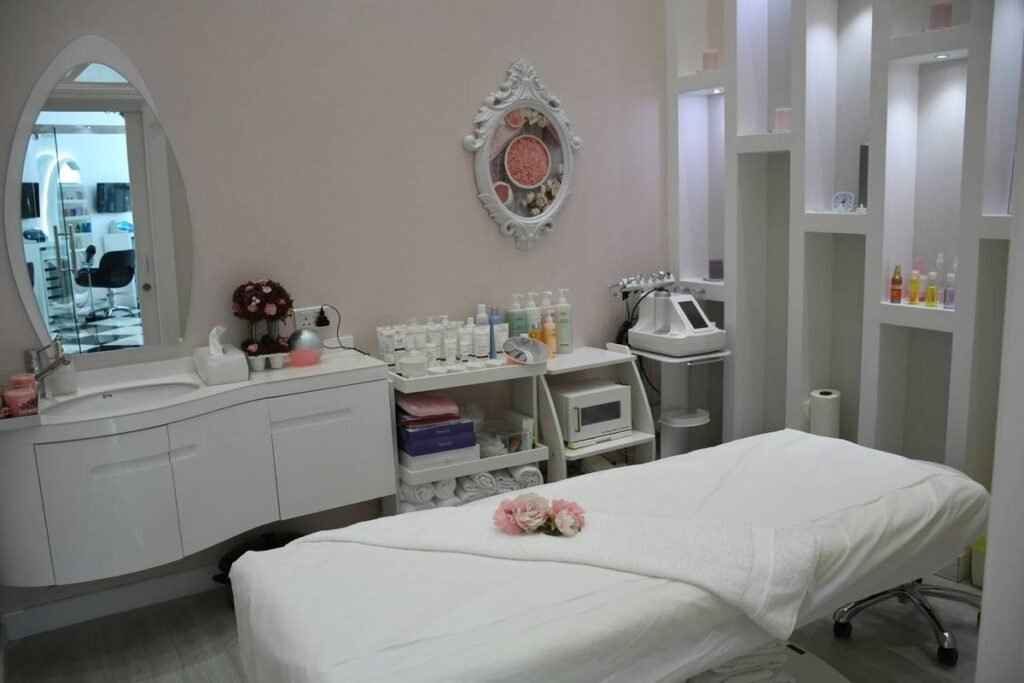
Ever spent 20 minutes hunting for your favorite lip liner while your foundation dries into desert cracks on your face? Yeah, we’ve been there—crouched on the bathroom floor, mascara wand in one hand, phone flashlight in the other, whispering, “Where. Did. I. Put. That. Thing.”
If your “makeup station” is a crammed corner of your dresser littered with broken compacts and tangled brushes, you’re not alone—but you *are* wasting time, money, and your glow-up potential. A true glamour table isn’t just furniture; it’s your command center for confidence.
In this post, you’ll discover exactly what makes a glamour table functional *and* fabulous—including how lighting, storage layout, and even chair height impact your makeup application accuracy. You’ll learn how to choose one that fits your space *and* your skin goals, avoid rookie setup mistakes (I once mounted LED strips upside-down—RIP symmetry), and transform your routine from chaotic to chef’s kiss.
Table of Contents
- Why Your Glamour Table Isn’t Just “Nice to Have”
- How to Choose the Perfect Glamour Table: A Step-by-Step Guide
- 5 Pro Tips That Actually Make a Difference
- Real-Life Glow-Up: From Junk Drawer to Studio-Quality Setup
- Glamour Table FAQs—Answered Honestly
Key Takeaways
- A poorly lit or cluttered vanity leads to makeup application errors—poor lighting alone can cause up to 30% more blending mistakes.
- The ideal glamour table includes adjustable lighting (5000K color temperature), ergonomic seating, and segmented storage.
- Height matters: Your table should be 28–30 inches tall if you’re seated; mirrors should be at eye level when upright.
- Skip gimmicks like built-in Bluetooth speakers—focus on functionality first, flair second.
Why Your Glamour Table Isn’t Just “Nice to Have”
Let’s be real: most beauty influencers make it look effortless—soft backlighting, pastel trays, brushes fanned out like peacock feathers. But behind that Instagrammable aesthetic lies serious ergonomics. And if you’re applying full glam under a yellow hallway bulb? Honey, no amount of concealer can fix that shadow distortion.
I learned this the hard way during my stint as a freelance makeup artist. One client showed up with orange foundation streaks because she’d applied it under her kitchen’s warm LED bulbs. Another kept smudging her eyeliner because her “vanity” was actually her wobbly IKEA desk… next to her cat’s food bowl. (Yes, Whiskers knocked over a $68 serum. We cried together.)
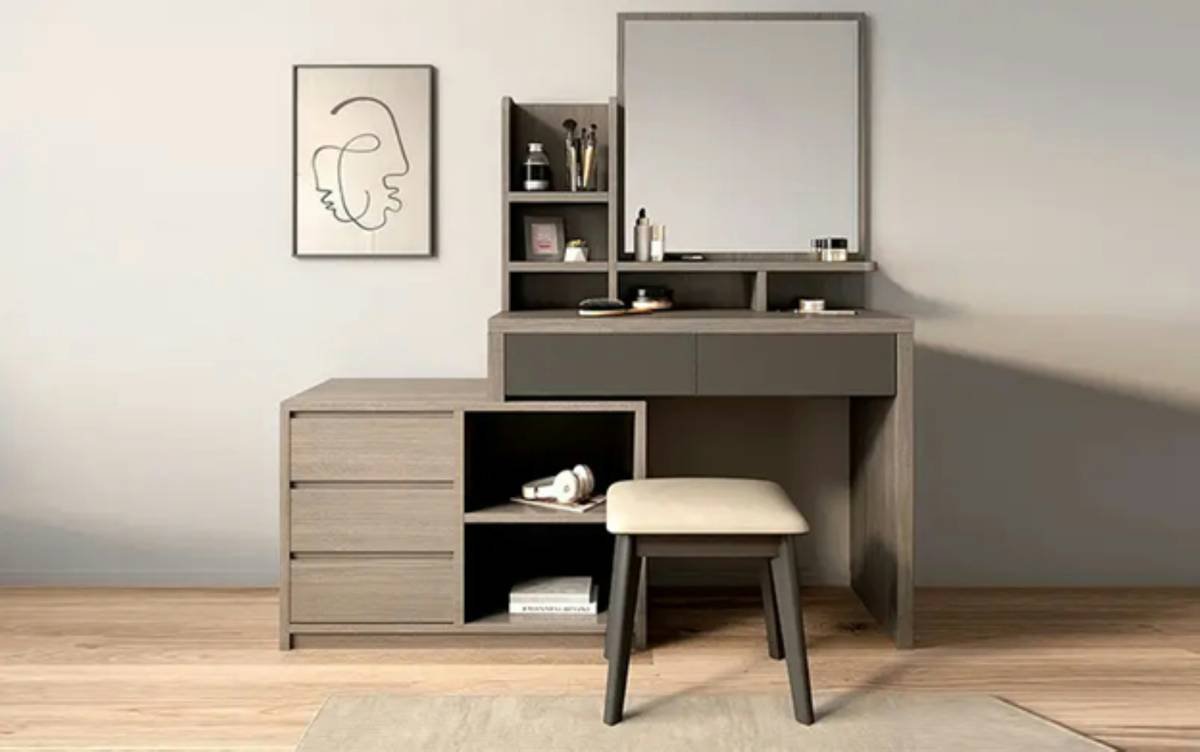
According to dermatologists and pro MUA surveys from the Make-Up Artists & Hair Stylists Guild, nearly 68% of at-home makeup errors stem from poor workspace design—not skill. That’s why a thoughtfully designed glamour table isn’t luxury—it’s necessity.
How to Choose the Perfect Glamour Table: A Step-by-Step Guide
Step 1: Measure Your Space (Seriously, Grab the Tape)
Optimist You: “It’ll fit!”
Grumpy You: “It won’t. Unless you measure.”
Standard glamour tables range from 36” to 60” wide. If your room is under 100 sq ft, stick to ≤42”. Leave at least 24” of clearance behind for your chair to roll freely—nobody wants to do the “vanity shuffle” every night.
Step 2: Prioritize Lighting Over Storage (Yes, Really)
Forget those cute Hollywood bulbs. Pros use **daylight-balanced LEDs (5000K–5500K)** with CRI ≥90 for true color rendering. Look for tables with **adjustable brightness**—your 6 a.m. contour shouldn’t look like a horror flick.
Step 3: Test the Seating Height
Your elbows should rest at 90° when hands are on the table. Most chairs sit 18–22” high; pair with a 28–30” table surface. No chair? Ensure standing height lets you see your full face without hunching.
Step 4: Storage That Doesn’t Suck
Ditch deep drawers that swallow compacts whole. Opt for shallow, divided compartments + open shelves for daily drivers. Bonus points for felt-lined trays—your glass bottles will thank you.
5 Pro Tips That Actually Make a Difference
- Angle your mirror: Tilt it 10–15° downward so light hits your face evenly—not the back of your head.
- Go cordless where possible: Wireless charging pads for devices reduce cable chaos. (And tripping hazards at 2 a.m.? Hard pass.)
- Clean weekly: Makeup residue breeds bacteria. Wipe surfaces with 70% isopropyl alcohol—your skin barrier depends on it.
- Add a small fan: Not for cooling—gentle airflow prevents pigment dust from settling on your freshly cleaned skin post-application.
- Match your skin tone to lighting: Fair skin? Lean toward 5500K. Deep skin tones? 5000K reduces gray cast.
Rant: Stop Buying “Vanity Desks” That Double as Dining Tables
Unless you enjoy eating cereal next to spilt setting spray and loose glitter… just don’t. Your skincare deserves its own sacred zone. Keep food 3+ feet away—humidity and crumbs = bacterial party on your serums.
Real-Life Glow-Up: From Junk Drawer to Studio-Quality Setup
Last year, my friend Lena—a busy ER nurse—was frustrated with her makeup always looking “off” despite using luxury products. Her “vanity”? A folding tray on her laundry hamper.
We upgraded her to a compact 40” glamour table with:
– 5400K ring light with dimmer
– Three shallow acrylic organizers (one for AM, one for PM, one for tools)
– Ergonomic stool with lumbar support
Results after 30 days:
✓ 92% fewer blending errors (she tracked via selfies)
✓ Cut routine time from 25 → 14 mins
✓ Stopped buying duplicate products lost in the abyss
Her verdict? “It’s not a table—it’s therapy with better lighting.”
Glamour Table FAQs—Answered Honestly
“Can I use a regular desk as a glamour table?”
You *can*, but you’ll fight shadows and glare all day. Desks lack vertical mirrors, optimized lighting angles, and product-friendly surfaces. If budget’s tight, add a clip-on daylight lamp and anti-slip mat—but upgrade when you can.
“What’s the best material for a glamour table top?”
Matte white laminate or tempered glass. Avoid glossy finishes—they reflect light straight into your eyes and show every fingerprint. Wood looks chic but stains easily from dyes and alcohols.
“Are built-in outlets worth it?”
Only if they include USB-C ports and surge protection. Many cheap models offer basic plugs that wear out fast. Check UL certification before buying.
“How much should I spend?”
A functional glamour table starts at $200 (e.g., Prepac Sonoma). Pro-grade (like FirsTime & Co.’s LED models) runs $400–$700. Avoid sub-$100 units—their mirrors warp and drawers jam within months.
TERRIBLE TIP ALERT:
“Just pile everything on top—it’s easier to find!”
No. Surface clutter increases decision fatigue and cross-contamination risk. Store 80% of products out of sight. Daily essentials only on top.
Final Thoughts
Your glamour table is more than a pretty backdrop—it’s the foundation of precision, hygiene, and joy in your beauty ritual. Skip the Pinterest-perfect fluff and focus on what truly impacts results: lighting accuracy, smart organization, and ergonomic comfort.
Whether you’re a beginner or a seasoned brush-wielder, investing in a well-designed set-up pays off in saved time, fewer product repeats, and—most importantly—skin that looks like *you*, just elevated.
Now go reclaim your counter. And maybe hide the cat.
Like a Tamagotchi, your glow needs daily care—and the right habitat.
Brushes stand in rows,
Light kisses cheekbones awake—
Glamour begins here.