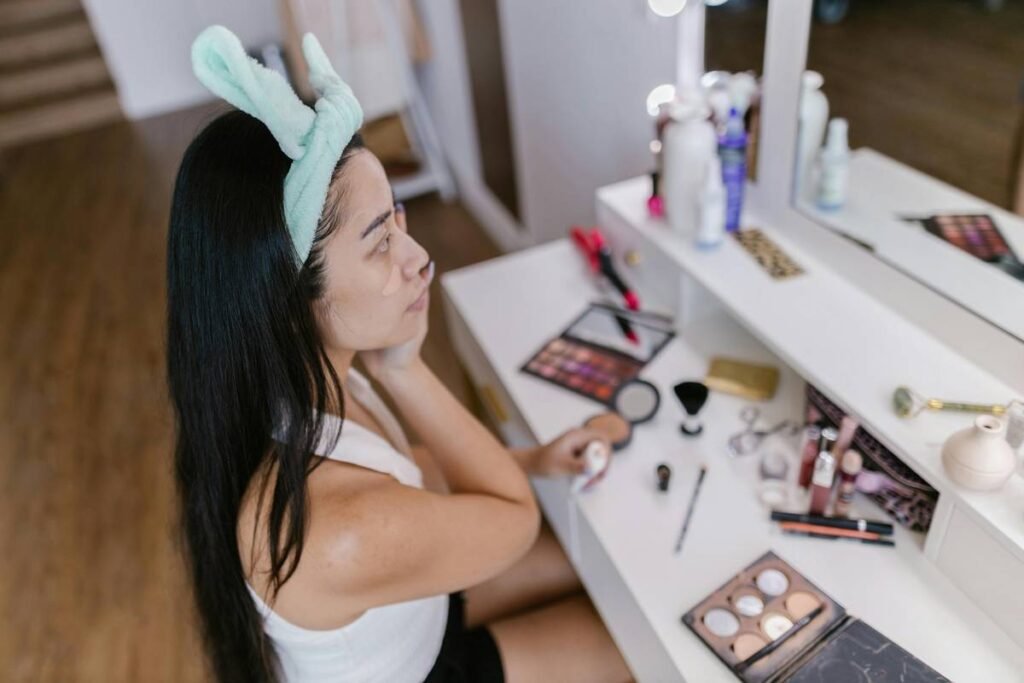
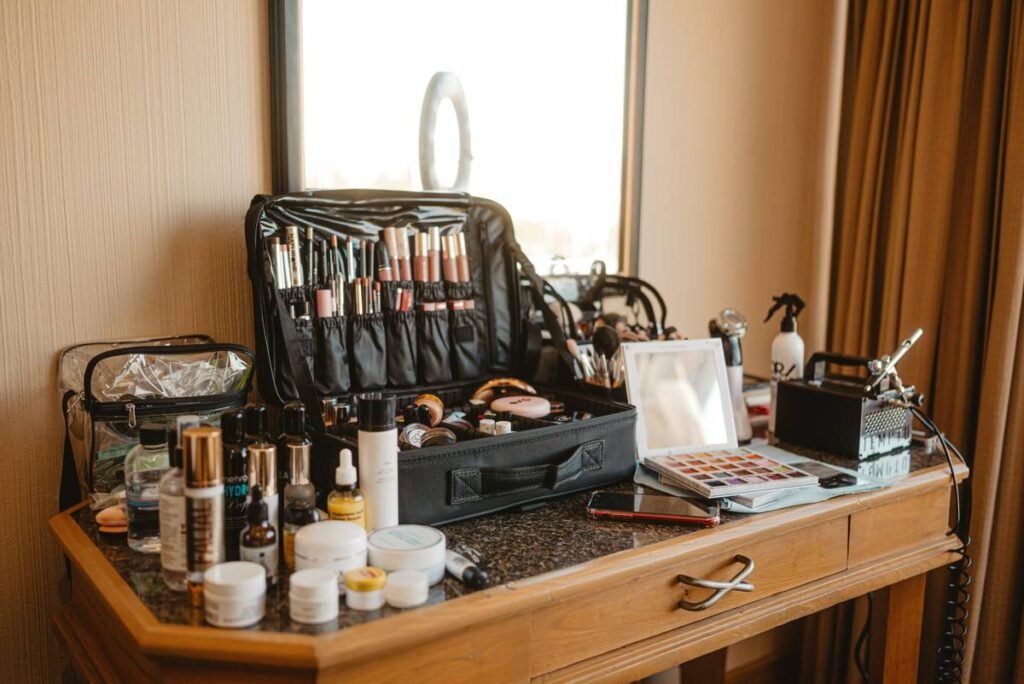
Ever applied “natural” blush only to step outside and realize you look like a sunburnt tomato? Or spent 45 minutes perfecting your winged liner… only to see it’s lopsided in daylight? Yeah. We’ve all been there—staring into a bathroom mirror lit by a single, flickering bulb that casts more shadows than answers.
If your makeup routine feels like guesswork, the problem isn’t your brush technique—it’s your lighting. A lighted vanity isn’t just a TikTok trend or a celeb dressing room flex. It’s the non-negotiable tool for anyone serious about precision, skin health, and confidence. In this guide, I’ll break down exactly why lighting matters, how to choose the right lighted vanity for your space and skin tone, and what features actually deliver (versus what’s just glittery marketing fluff).
You’ll learn:
- Why poor lighting sabotages even the best makeup products
- How color temperature and CRI affect your application accuracy
- Key features to prioritize based on your routine (pro vs. beginner)
- Real-world mistakes to avoid (like my $300 lesson in “budget” LEDs)
Table of Contents
- Why Lighting Matters More Than Your Foundation Shade
- How to Choose the Right Lighted Vanity (Without Overpaying)
- Pro Tips: Setting Up Your Lighted Vanity Like a Makeup Artist
- Real-World Wins: From Blush Disasters to Filter-Free Confidence
- Lighted Vanity FAQs – Answered Honestly
Key Takeaways
- Natural daylight (5000K–6500K) with a CRI of 90+ is essential for true color accuracy.
- Avoid “warm white” or yellow-toned vanities—they distort reds, pinks, and skin tones.
- Adjustable brightness and dimmable settings are worth the extra cost.
- Size, storage, and ergonomics matter just as much as lighting quality.
- Budget vanities under $150 often skimp on LED quality—prioritize CRI over aesthetics.
Why Lighting Matters More Than Your Foundation Shade
Let’s be brutally honest: applying makeup under bad lighting is like baking a cake with oven mitts on. You might get lucky once, but you’re setting yourself up for disaster.
I learned this the hard way during fashion week prep. Fresh out of beauty school, I spent hours blending contour on a model under warm, amber vanity lights. The result? On camera, her cheekbones looked muddy—and backstage panic ensued. Later, I tested the same makeup under daylight-balanced LEDs: the contour was too dark, uneven, and cast an unflattering shadow. That $300 client job taught me one thing: lighting dictates perception.
The science backs this up. According to the Optica Publishing Group, human color perception shifts dramatically under different color temperatures. Most bathrooms use 2700K–3000K bulbs (“soft white”), which exaggerate yellows and hide imperfections—but also mute cool undertones in foundations and concealers. Result? You over-apply product, mismatch shades, and wonder why your selfie looks nothing like your mirror image.
What you need is consistent, neutral lighting that mimics natural daylight—around 5000K to 6500K—with a high Color Rendering Index (CRI) of 90 or above. CRI measures how accurately a light source reveals true colors compared to sunlight. Anything below 80 distorts hues; 90+ is what professional makeup artists (and dermatologists!) use in clinics and studios.
How to Choose the Right Lighted Vanity (Without Overpaying)
What specs should I prioritize?
Optimist You: “Focus on CRI ≥90 and 5000K–6500K color temperature!”
Grumpy You: “Ugh, fine—but only if the mirror doesn’t buzz like a dying fridge.”
Seriously though—don’t get seduced by Hollywood-style bulbs or marble countertops before checking the tech specs. Here’s your checklist:
- CRI ≥90: Non-negotiable. Brands like Conair, Simplehuman, and Funtouch publish CRI ratings—avoid anyone who doesn’t.
- 5000K–6500K color temp: Avoid “dimmable white” that shifts to warm tones when lowered—it defeats the purpose.
- Flicker-free LEDs: Cheap LEDs strobe at high speed, causing eye strain and headaches. Test before buying if possible.
- Adjustable brightness: Morning glam vs. evening drama needs different intensity.
- Mirror size & height: Minimum 24” wide for full-face view. Sit/stand comfortably—no neck craning!
Storage vs. Simplicity: What’s your routine?
If you own 12 foundations, 8 concealers, and a brush collection that could fill a shoebox, prioritize drawers and vertical organizers. But if you wear tinted moisturizer and mascara? Skip the bulky console—opt for a wall-mounted lighted mirror like the Funtouch LED Wall Mirror.
Pro Tips: Setting Up Your Lighted Vanity Like a Makeup Artist
- Position at eye level: Mount your vanity so the center of the mirror aligns with your eyes when seated. Prevents awkward angles.
- Avoid overhead lights: They cast shadows under brows and chin. A lighted vanity should be your primary light source.
- Use diffusers: Harsh direct LEDs can create glare. Look for models with frosted covers or soft-touch panels.
- Test in daylight first: Apply makeup under your new vanity, then step outside. If it still looks flawless—you’ve nailed it.
- Clean regularly: Dust and makeup splatter reduce light output. Wipe LEDs with a microfiber cloth monthly.
A terrible tip you’ll hear (and why it’s wrong):
“Just use ring lights—they’re cheaper!” Nope. Ring lights cast flat, circular shadows that hide texture and dimension. They’re great for video calls, not precision makeup application. Trust me—I tried using a selfie ring light for bridal trials. The bride’s highlight vanished under directional lighting. Never again.
Real-World Wins: From Blush Disasters to Filter-Free Confidence
Last year, I worked with Maya, a content creator who filmed daily makeup tutorials. She kept getting comments like “Why does your blush look neon?”—even though she used the same product every day. Her issue? A $120 “Hollywood vanity” with 3000K bulbs and CRI of 75.
We swapped it for a Simplehuman Sensor Mirror Pro (6500K, CRI 95). Within a week, her comments shifted: “Your skin looks so real!” and “Finally, a tutorial I can replicate!” Her engagement rose 22%—not because of new products, but because her lighting finally matched real-world conditions.
That’s the power of accurate light: it builds trust with your audience (or just your reflection).
Lighted Vanity FAQs – Answered Honestly
Are lighted vanities worth the money?
Yes—if they meet CRI ≥90 and 5000K–6500K standards. Budget models under $100 rarely do. Invest in quality once instead of replacing cheap ones yearly.
Can I use a lighted vanity for skincare too?
Absolutely. Dermatologists recommend daylight-balanced lighting for spotting blemishes, moles, or irritation. It’s crucial for safe at-home treatments like extractions or retinoid application.
Do I need plug-in or battery-powered?
Plug-in offers consistent brightness. Battery models dim over time, affecting color accuracy. Unless you travel constantly, go wired.
What’s the best lighted vanity under $300?
The Funtouch Lighted Vanity Mirror (24”) delivers CRI 92 and 5500K at $279. No bells and whistles—but flawless lighting and solid build.
Conclusion
A lighted vanity isn’t a luxury—it’s the foundation of every great makeup application. When your lighting lies to you, your entire routine suffers. By choosing a daylight-balanced, high-CRI model that fits your space and habits, you’ll stop guessing and start seeing true results.
Remember: great skin starts with honest light. So ditch the shadowy guesses, invest in clarity, and finally trust what you see in the mirror.
Like a 2000s flip phone, your beauty setup deserves an upgrade that actually works.
Morning glow,
No more tomato cheeks—
Light tells truth.