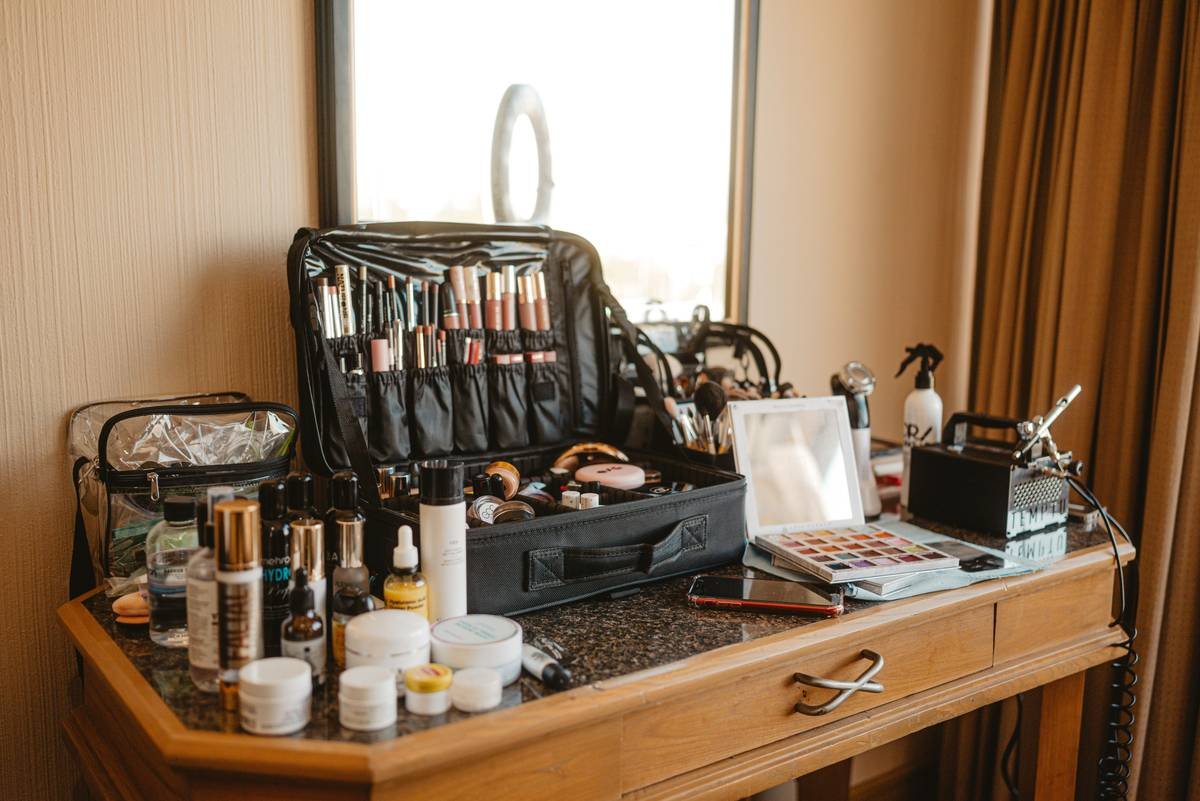
You spent hours curating your foundation shades, eyeliner pencils, and blush compacts—only to shove them into a cluttered drawer or a flimsy makeup organizer box that collapses after two weeks. The result? Broken products, wasted money, and a daily beauty routine that feels like an archaeological dig. But it doesn’t have to be this way.
The Core Problem: Most Makeup Organizer Boxes Are Designed for Showrooms—Not Real Life
Walk into any beauty retailer or scroll through influencer hauls, and you’ll see pristine acrylic trays glowing under studio lights. They look perfect—until you actually use them. These units assume your collection is static, minimal, and neatly capped. Reality? Your stash grows weekly. Brushes shed. Liquid lipsticks leak. And travel minis never stay “mini” for long.
And here’s the kicker—most organizers ignore ergonomics. You end up stacking items vertically just to fit everything, which means your favorite cream bronzer gets buried under five palettes you haven’t touched since 2022.
How to Choose & Customize a Makeup Organizer Box That Actually Works
Forget one-size-fits-all solutions. The best system adapts to your habits, not the other way around. Follow this battle-tested framework:
Audit Your Collection Like a Pro
Pull every single product out. Yes, even that sample from three years ago. Sort into three piles: Daily Use, Occasional, Never Touches Skin Again. Be ruthless. If it’s expired or causes breakouts, toss it—not tomorrow, now.
Map Your Usage Zones
Your vanity isn’t a museum—it’s a workstation. Place daily essentials within arm’s reach. Store seasonal or backup items in deeper drawers. Don’t force everything onto open trays; that invites dust and UV degradation.
Prioritize Modularity Over Aesthetics
A sleek white box might photograph well, but if you can’t reconfigure dividers when you buy a new eyeshadow palette, it’s useless. Look for stackable, adjustable compartments—not fixed grids.

| Organizer Type | Best For | Cost Range | Longevity Score (1-10) |
|---|---|---|---|
| Acrylic Stackable Trays | Minimalists with <30 items | $25–$80 | 4 — Scratches easily, joints weaken |
| Wooden Drawer Units | Large collections, humid climates | $60–$150 | 8 — Sturdy, but heavy and non-modular |
| Modular Insert Systems (e.g., foam or felt inserts) | Professional MUAs or collectors | $40–$200+ | 9 — Fully customizable, protects delicate items |
| Repurposed Kitchen Storage (like spice racks) | Budget DIYers | $10–$30 | 6 — Functional but lacks beauty-specific design |
The Industry Secret: Top Makeup Artists Don’t Organize by Product Type—They Organize by Workflow
Here’s what no brand wants you to know: categorizing by “eyeshadow here, lipsticks there” creates friction during application. Instead, elite artists group items by routine phase. Prime zone: cleanser, toner, primer. Color zone: foundation, concealer, blush. Detail zone: brow pencil, liner, setting spray. This mirrors how you actually move through your routine—saving seconds that compound into minutes over time.
And they rotate stock like a pharmacy—first-in, first-out. New purchases go behind older ones. No more forgotten serums expiring in the back corner.
FAQ
What’s the difference between a makeup organizer box and a vanity tray?
A vanity tray is typically shallow and open—great for display, poor for storage. A true makeup organizer box has enclosed or partitioned compartments designed to protect and categorize items long-term.
Can I store skincare in my makeup organizer box?
Absolutely—if the material is non-porous (like sealed wood or BPA-free plastic). Avoid acrylic if you use oil-based serums; they can cloud or crack the surface over time.
How often should I clean my makeup organizer box?
Wipe interior surfaces weekly with a microfiber cloth. Deep clean monthly—especially if you’ve had spills. Bacteria thrive in dark, damp corners most users ignore.